
Last updated November 21, 2026
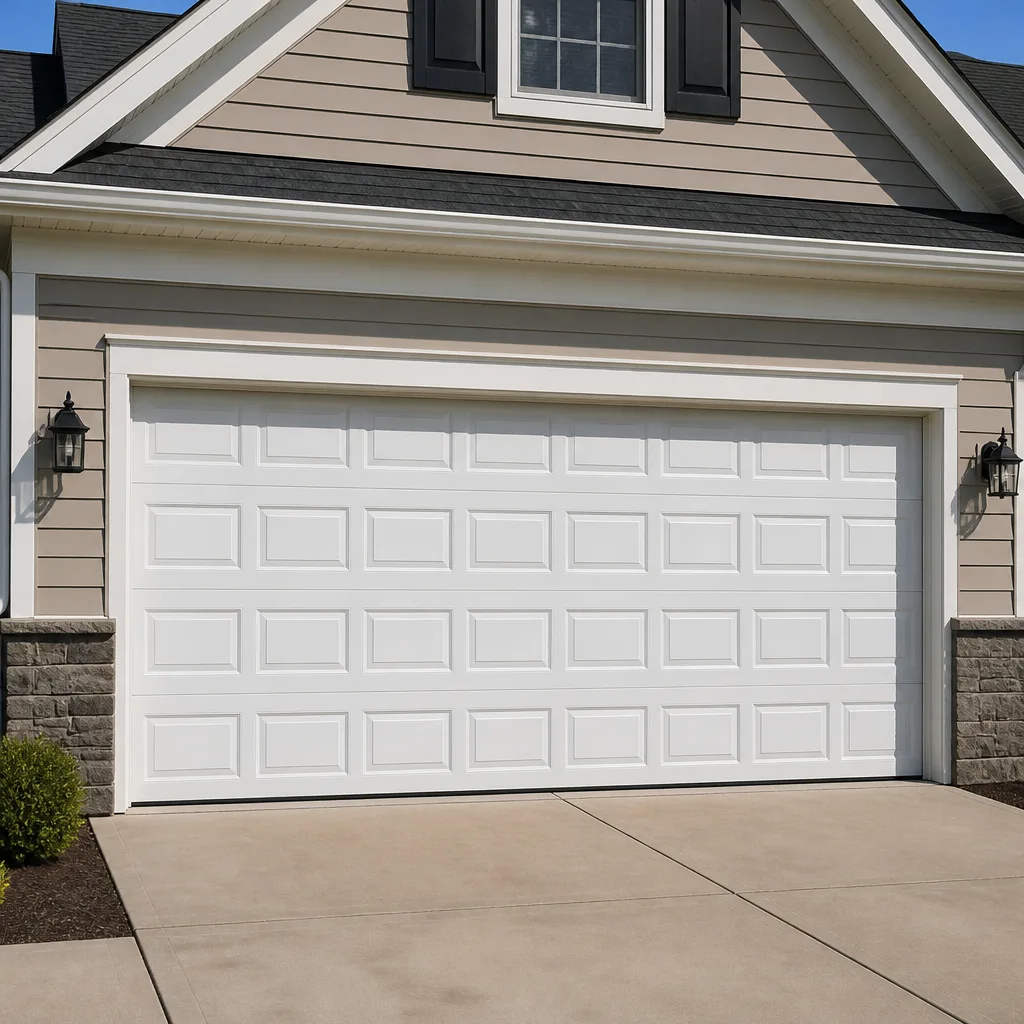 Raised-panel steel
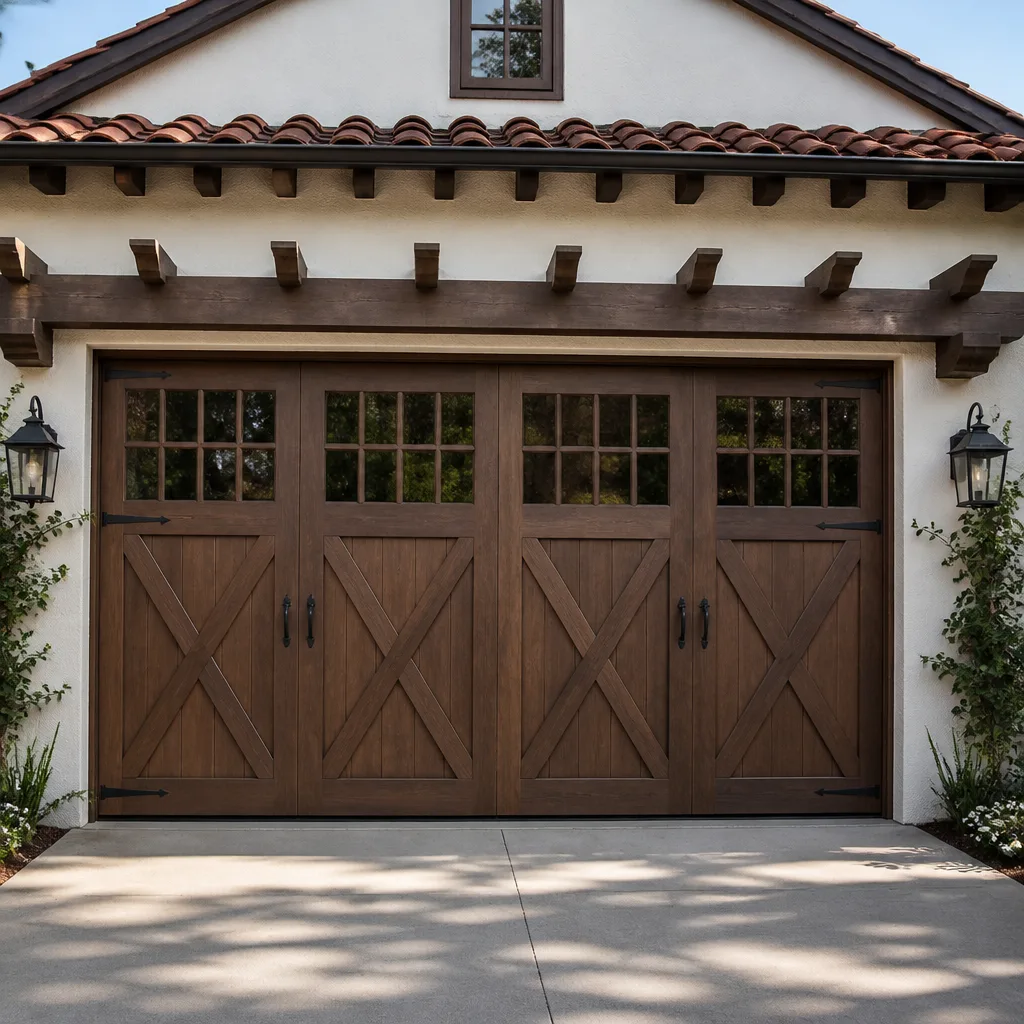 Carriage house
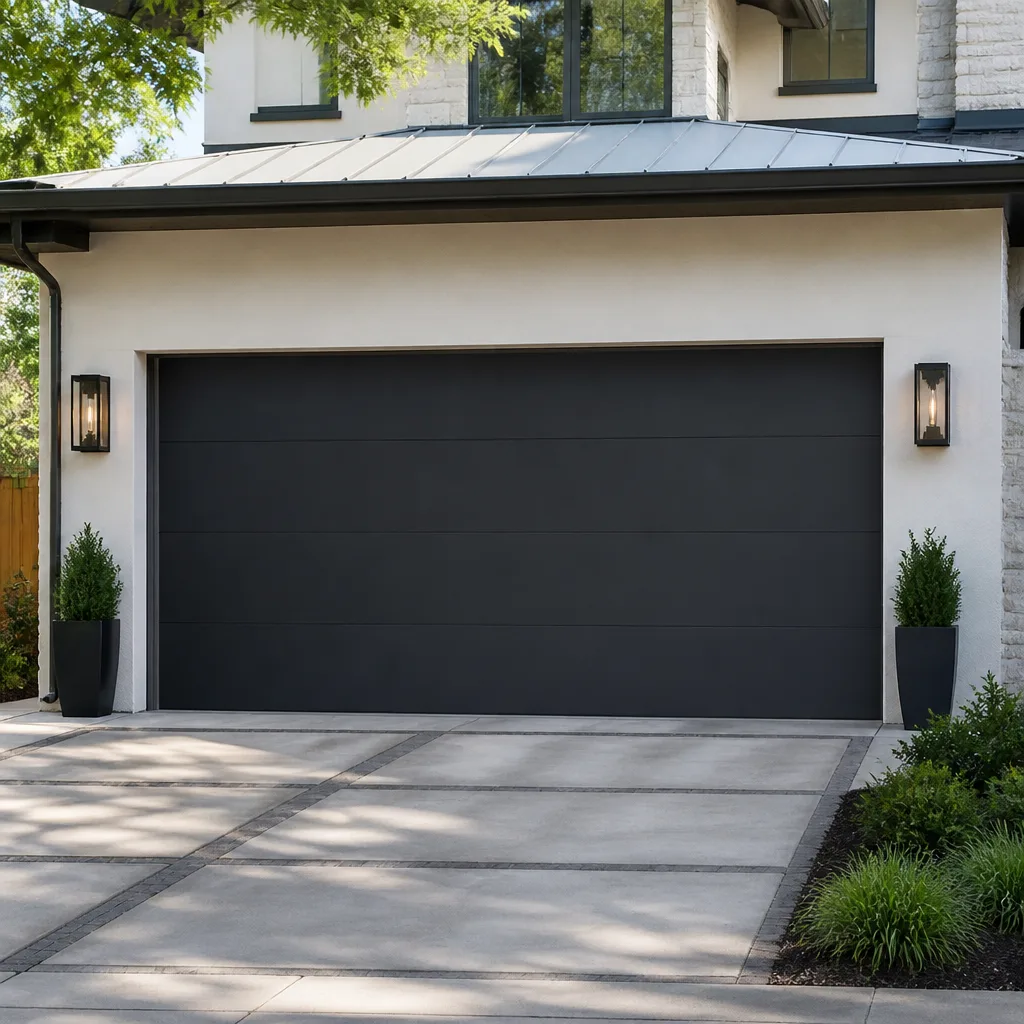 Modern flush
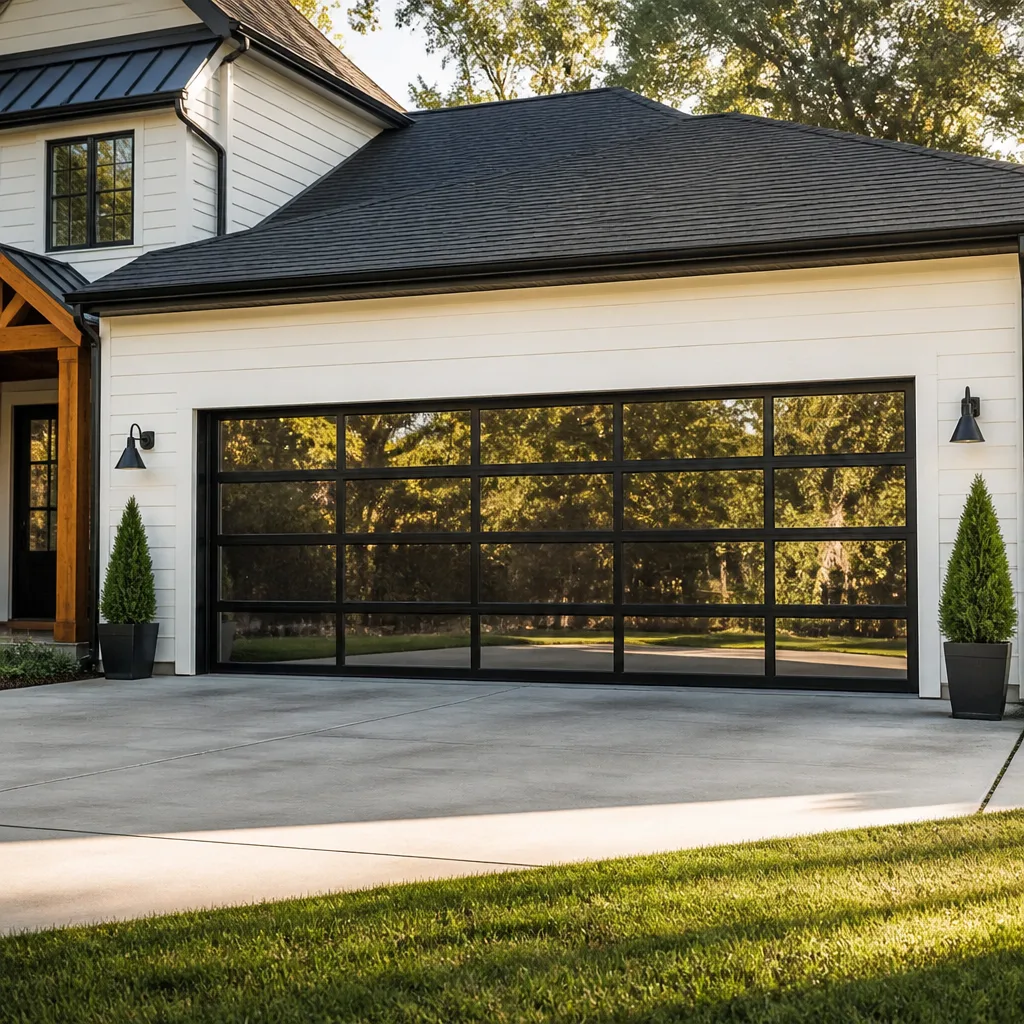 Full-view glass
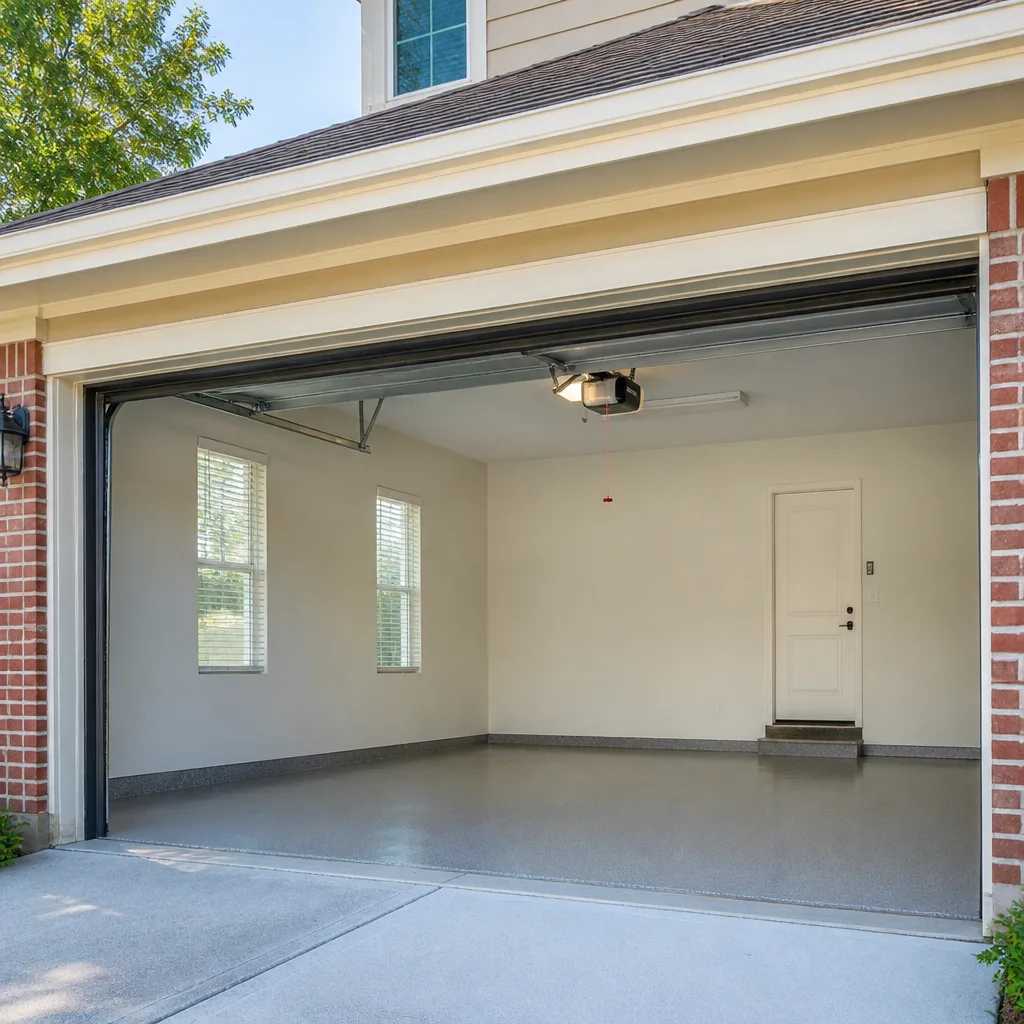 LiftMaster openers
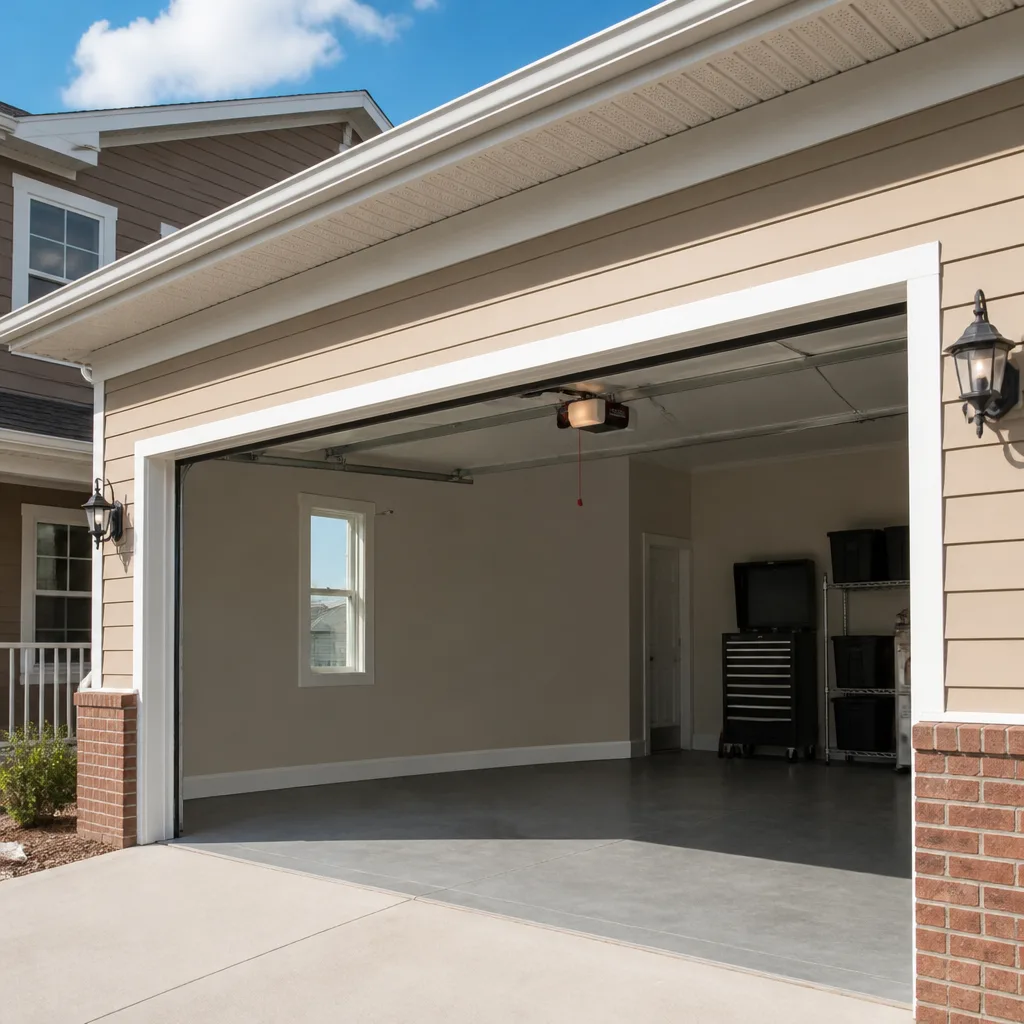 Chamberlain openers
Full 25-point door and opener safety check with every visit - springs, cables, rollers, tracks, and your LiftMaster or Chamberlain opener included
You get a price before we start. It does not change when the pro arrives.
Get your free estimateDIY vs Professional Garage Door: The Providence Homeowner’s Decision Guide
The garage door question isn’t really about whether you’re handy. It’s about stored energy. A torsion spring on a standard door holds enough tension to do real damage, and unlike a crossbow that gets fired once, that spring stays loaded every hour the door hangs there. That changes the math on what’s safe to touch yourself. In Providence’s older housing stock, where original wood doors and decades-old openers are still common, that line between “manageable” and “leave it alone” falls in a very specific place. This guide draws it clearly: what you can handle, what you shouldn’t, and how to think about cost before you call anyone.
Quick Answer
You can safely handle weatherstripping, lubrication, sensor alignment, track wiping, and visual inspections. You should never touch torsion springs, extension springs, cables, bottom brackets, or the counterbalance system as a whole, no matter how skilled you are. Everything else falls in a middle zone where professional repair usually costs less than a botched DIY attempt once remediation is factored in. In Providence, most homeowners call a technician for springs, cables, and opener logic boards, and handle the rest themselves.
Styles & brands we work with
- Raised-panel steel
- Carriage house
- Modern flush
- Full-view glass
- LiftMaster openers
- Chamberlain openers
Table of Contents
- The Task-by-Task Decision Matrix
- Why Springs Are the Real Dividing Line
- Liability and Insurance in Rhode Island
- What YouTube Gets Wrong About Torsion Springs
- The Cost Math on Five Common Providence Repairs
- What to Check Before You Call
- Common Mistakes to Avoid
- When to Call a Professional
The Task-by-Task Decision Matrix
Here’s the framework we use when a Providence homeowner asks whether they should attempt a repair themselves. The question isn’t “can I do this?” but “if this goes wrong, what’s the worst-case outcome?” Tasks with a mild worst case are fair game. Tasks where the worst case involves a hospital visit or a collapsed door are not, regardless of your experience.
Safe for a Confident Homeowner
- Weatherstripping replacement on the bottom of the door and around the frame. Low risk, low cost, high payoff in a Rhode Island winter.
- Photo-eye sensor alignment on the opener. A small adjustment of the sensors mounted near the floor tracks. No stored energy involved.
- Lubrication of hinges, rollers, and tracks with a proper garage door lubricant. Extends the life of moving parts.
- Track wiping and debris removal with a damp cloth. Removes grit that accelerates roller wear.
- Visual inspections of springs, cables, and hardware. Look, don’t touch, and note anything that changed.
- Manual release testing to confirm the door opens by hand when disconnected from the opener.
- Battery replacement in remotes and keypads.
Requires a Technician, Regardless of Skill
- Torsion spring replacement or adjustment. The single most dangerous job in garage door work.
- Extension spring replacement. Less stored energy than torsion, but still enough to cause serious injury.
- Cable replacement or re-spooling. Cables are under extreme tension and can snap without warning.
- Bottom bracket and drum work. Both are directly connected to the spring system.
- Panel replacement where the door must be rebalanced afterward.
- Track realignment beyond minor adjustments. A bent track loads the door unevenly.
- Opener motor, gear, or logic board replacement. Requires diagnosis, not just parts swapping.
- Counterbalance adjustment when the door feels heavy or slams shut.
Case-by-Case, Depending on the Situation
Replacing rollers is generally safe but becomes risky if the door is already under uneven tension. Adjusting limit switches on an opener is manageable on older units, but on modern LiftMaster and Chamberlain models tied to MyQ, it’s usually a symptom of a sensor or logic issue rather than a limit problem. When in doubt, the honest answer is: describe the symptom to a technician and ask whether it’s a DIY-level job. A quick phone assessment costs nothing and prevents a lot of frustration.
Why Springs Are the Real Dividing Line
Every garage door uses one of two counterbalance systems: torsion or extension. Both store energy. They store it differently, and that difference matters for anyone thinking about a DIY attempt.
How Torsion Springs Store Energy
A torsion spring is a coiled steel bar mounted on a shaft above the door. It’s wound tight during installation, and that winding is what lifts a door that typically weighs between 130 and 400 pounds. The spring doesn’t relax when the door is closed; it’s under tension in both positions, just less in one. When a torsion spring breaks, the energy releases all at once. That’s why a failed torsion spring sounds like a gunshot and can send hardware across the garage.
Working on a torsion spring means winding or unwinding it with two steel rods. If a rod slips, or if a homeowner uses the wrong diameter, the rod becomes a projectile. This is the specific mechanical reason YouTube tutorials are so dangerous here: they show the motion (insert rods, turn) without conveying the tension level, the tool specs, or the failure mode. On video it looks controlled. In person, a 250-pound door suspended by a wound spring is not a controlled environment for anyone without training.
How Extension Springs Store Energy
Extension springs run parallel to the horizontal tracks and stretch as the door closes. They carry less energy per spring than torsion springs, which is why some homeowners assume they’re safer. They’re not. Extension springs also require safety cables threaded through the center, and if those cables are missing or rusted, a snapped spring can fly across the garage. In Providence’s older homes, we often find extension springs with no safety cables at all, or cables that were never installed to code. That’s a job for a technician to correct before the spring fails, not after.
Our garage door repair calls in Providence most often involve a spring that failed at the worst possible moment: on the way out the door, or after a cold snap when the metal contracts.
Liability and Insurance in Rhode Island
Rhode Island homeowners are generally covered by their homeowner’s policy for sudden accidental damage to the home and for injuries to guests. What policies typically don’t cover, and what’s easy to miss, is the distinction between damage caused by a professional and damage caused by self-performed work. If a homeowner replaces a torsion spring themselves and it fails a month later, causing injury or damage, the insurer may view the claim differently than if the work was done by a licensed trade professional. The exact treatment varies by carrier, so the honest answer is: ask your insurer directly before you attempt anything structural.
The practical version of this concern is simpler. Garage door work is a trade with documented injury patterns, and a homeowner who gets hurt doing it may face questions about whether the work was appropriate to attempt. That’s not a scare tactic. It’s the same logic that applies to gas lines and electrical panels: work that carries a high injury risk usually belongs with a trained professional, and the homeowner’s policy is written with that expectation in mind.
What “Structural” Means Here
The springs, cables, drums, brackets, and tracks are all part of the door’s structural load path. Weatherstripping, sensors, remotes, and lubrication are maintenance items in the same way that changing a light bulb is. If a task touches anything that holds the door’s weight or controls its motion, treat it as structural and leave it to a technician. In practice, this covers most of what actually breaks.
What YouTube Gets Wrong About Torsion Springs
We’re not going to pretend tutorials don’t exist or tell you never to watch one. What we will tell you is that most spring replacement videos show the procedure correctly and still leave out the parts that matter most. The gap between a video and a real job isn’t the motion. It’s the diagnosis, the tooling, and the failure modes.
What the Videos Don’t Show
- The winding count. A torsion spring has to be wound to a specific number of turns based on door height, weight, and spring spec. Guess wrong and the door is dangerously out of balance or the spring fails early.
- The tools. Proper winding rods are a specific diameter and length. Substituting a screwdriver or a short rod is how injuries happen.
- The spring spec. Two springs that look identical on the outside can be rated for different weights. Putting on the wrong one shortens its life and strains the opener.
- The safe zones. During winding and unwinding, the technician’s body position matters. A video can’t coach you through what to feel for when a rod starts to bind.
- The full inspection. A technician replacing a spring checks the cables, drums, brackets, and opener at the same time. A DIY spring replacement that skips those checks often leads to a second failure within months.
- The aftermath. Rebalancing the door after a spring swap is part of the job. A door that’s slightly out of balance wears everything faster.
If you take nothing else from this section, take this: a spring replacement that goes wrong is one of the few homeowner projects where the failure mode is an injury, not an inconvenience. The math on a professional spring replacement almost always comes out ahead once that risk is priced in.
The Cost Math on Five Common Providence Repairs
Here’s where the DIY argument usually collapses. The gap between doing it yourself and calling a technician is narrower than it looks once you account for parts, tools, time, and the cost of remediation when a DIY attempt doesn’t hold. The table below reflects typical estimates for the five most common jobs we see in Providence homes, with the honest comparison for each.
| Repair | Typical Professional Estimate | DIY Reality |
|---|---|---|
| Torsion spring replacement (one spring) | $180 – $340 | Parts are $40 – $90, but the injury risk and rebalance work make this a poor candidate for DIY |
| Extension spring replacement (pair) | $140 – $280 | Lower energy than torsion, still a real injury risk, safety cables often missing |
| Opener repair (logic board or motor) | $120 – $260 | Diagnosis is the hard part; wrong-board-swap is common and costly |
| Cable replacement (pair) | $150 – $300 | Cables are under tension; no safe DIY version |
| Track or roller service | $80 – $180 | Rollers are DIY-friendly; track realignment is not |
One clarification that matters: the spring prices above are for a single spring. A matched pair is usually replaced together, so a pair costs about twice that range. The written estimate always sets the final price, and it’s quoted before any work starts. You’ll know what you’re paying before a tool comes out of the truck.
The Hidden Cost of a Job Done Wrong
When a DIY repair fails, the follow-up job often costs more than the original would have. A door that comes off a track after a misaligned replacement damages panels, bends tracks, and can strain the opener. A spring that fails early because it was the wrong spec usually takes the door out of balance and stresses the cables. In our experience, a re-attempted repair plus the original parts an owner already bought usually exceeds what the professional repair would have cost the first time. That’s not a scare number; it’s just what the parts count looks like.
What to Check Before You Call
You can cut a chunk out of the service call scope by doing a few minutes of safe prep work before a technician arrives. This doesn’t mean diagnosing the repair. It means giving the technician enough detail that the first visit is efficient, which is the whole point of brand familiarity and correct parts sourcing. Here’s a procedure that stays safely on the DIY side of the line:
- Note the symptom precisely. Is the door heavy to lift by hand, does it slam shut, does the opener run but the door doesn’t move, or does the opener stop and reverse? Precise symptom descriptions save diagnostic time.
- Look at the springs without touching. A visible gap in a torsion spring means it’s broken. A stretched-out extension spring means it’s fatigued. Either way: note it and step back.
- Check the photo-eye sensors. Small LED lights on the sensors near the floor should be solid. Blinking or dark means an alignment or wiring issue, which is often a quick fix.
- Test the manual release. Pull the release cord (with the door down) and lift the door by hand. If it’s very heavy, the springs or counterbalance need attention.
- Note the brand and model. Look at the opener label and, if visible, the door label. Homeowners with LiftMaster, Chamberlain, Genie, Clopay, Amarr, Wayne Dalton, Craftsman, or Raynor equipment can tell us at the time of the call, and technicians arrive prepared for that brand.
- Note the door type. Wood, steel, aluminum, and insulated doors have different common failure points. In Providence, wood doors in older homes and steel doors from the 1980s and 1990s are both still common.
- Take a photo. A phone photo of the spring, cables, and opener label is often all a technician needs to arrive with the right parts.
This kind of prep is what turns a diagnostic call into a repair call, and it’s the same principle behind our brand familiarity: the right part on the first visit. Our technicians have up to 13 years of experience, and they work across eight major brands including LiftMaster, Chamberlain, Genie, Clopay, Amarr, Wayne Dalton, Craftsman, and Raynor.
Common Mistakes to Avoid
- Using the wrong winding rod. A screwdriver or short rod in place of a proper torsion winding rod is the single most common cause of spring-injury accidents. The tool is cheap; the failure mode is not.
- Replacing one spring of a pair. When one torsion spring breaks, the other is almost certainly near the end of its life. Replacing one leaves a mismatched pair that wears unevenly and often causes a second failure within months.
- Skipping safety cables on extension springs. Older Providence homes frequently have extension springs without safety cables. If a spring snaps without the cable, it becomes a projectile. This should be corrected before the spring fails.
- Using WD-40 on tracks. Tracks need a light, non-attracting lubricant, not a solvent. WD-40 cleans but doesn’t stay; it attracts grit that accelerates roller wear. Use a proper garage door lubricant on hinges and rollers, and keep tracks clean and dry.
- Adjusting spring tension to “fix” a heavy door. A door that’s heavy to lift usually has a broken or fatigued spring, not an over-wound one. Adding tension makes the problem worse and can overload the opener.
- Ignoring a bent track after a bump. A door that was backed into, bumped, or pushed off balance usually has a track issue, not a spring issue. Forcing the door past a bent track bends it further and stresses the cables.
- Assuming a new opener fixes an old door. A heavy door with a fatigued spring will burn through a new opener’s motor quickly. The system has to work together before the opener is blamed.
When to Call a Professional
Call a professional when the job touches springs, cables, brackets, drums, or the counterbalance system. Call when a door slams shut, when the opener runs but doesn’t lift the door, when the door comes off the track, or when the manual release feels heavy. Call when an older Providence home has extension springs without safety cables, because that’s a risk to fix before it becomes a failure. And call when you’ve already attempted a repair and it didn’t hold; a second attempt usually makes a professional repair more extensive.
Providence Garage Door Repair Co connects you with independent local professionals who work exclusively in garage doors across eight major brands. Technicians are licensed and insured as their state requires. We answer 24/7. Fast dispatch from 7am to 7pm, Sunday through Friday. Same-day service is often available for repair and emergency calls, and estimates are free. For scheduled work like opener replacement or a new door, we set up a free measure and a written estimate rather than promising a same-day turnaround that doesn’t fit the job.
Frequently Asked Questions
No. Torsion springs are under extreme tension and require proper winding rods, correct spring specs, and training. The failure mode is serious injury, not a botched repair. The cost of professional replacement (typically $180 to $340 for one spring) is far below the risk of a DIY attempt. Call (844) 954-3433 for a free estimate.
Torsion spring replacement in Providence typically costs $180 to $340 for one spring. A matched pair is usually replaced together, so a pair runs about twice that range. Extension spring pairs typically cost $140 to $280. The written estimate sets the final price, and it’s agreed before any work starts. Call (844) 954-3433 for an exact quote; estimates are free.
Yes. Lubricating hinges and rollers with a proper garage door lubricant is safe and extends the life of moving parts. Keep tracks clean and dry, avoid WD-40 on tracks, and don’t touch springs, cables, or brackets. If the door runs rough or feels heavy after lubrication, the issue is elsewhere. Call (844) 954-3433 if you’re unsure.
It depends on your policy and carrier. Most policies cover sudden accidental damage, but self-performed structural work may be treated differently from work done by a licensed professional. The honest answer is to ask your insurer directly before attempting anything structural. For spring, cable, or counterbalance work, professional repair avoids the question entirely. Call (844) 954-3433 for a free estimate.
Often, yes. Same-day service is available for repair and emergency calls. We answer 24/7, with fast dispatch from 7am to 7pm, Sunday through Friday. A door stuck open is a security issue, and emergency garage door service is a core offering. Call (844) 954-3433 and describe the symptom so the technician arrives with the right parts.
Not if the scope hasn’t changed. The price is quoted and agreed before any work starts, and the written estimate is the price. If a technician finds a related issue (a worn cable alongside a spring, for example), you’ll be told before any additional work begins. Call (844) 954-3433 for a free estimate on any garage door job in Providence.
The Bottom Line
DIY on a garage door is not a binary question. Weatherstripping, sensor alignment, lubrication, and safe inspections belong in your hands. Springs, cables, brackets, and drums belong with a trained technician, no matter how capable you are with tools. The reason isn’t skill level; it’s stored mechanical energy and the specific failure modes that come with it. In Providence’s older housing stock, worn springs, missing safety cables, and aging openers all compound that risk. The cost math on the five most common repairs usually favors professional work once parts, tools, and remediation are counted. And the repair is rarely worth doing twice.
If you’re unsure which side of the line a job falls on, call and ask. We’ll give you a straight answer, whether it’s “that’s a DIY job” or “that needs a technician.” Providence Garage Door Repair Co connects you with vetted local professionals who work exclusively in garage doors across LiftMaster, Chamberlain, Genie, Clopay, Amarr, Wayne Dalton, Craftsman, and Raynor equipment. For a free estimate in Providence, call (844) 954-3433. We answer 24/7. Fast dispatch from 7am to 7pm, Sunday through Friday.
More in-depth reading: garage door installation if you’re weighing a full replacement, and garage door opener repair if the opener is the symptom. For the trade specialization behind the advice in this guide, see Providence Garage Door Repair Co.
Written by the team at Providence Garage Door Repair Co.
See the difference
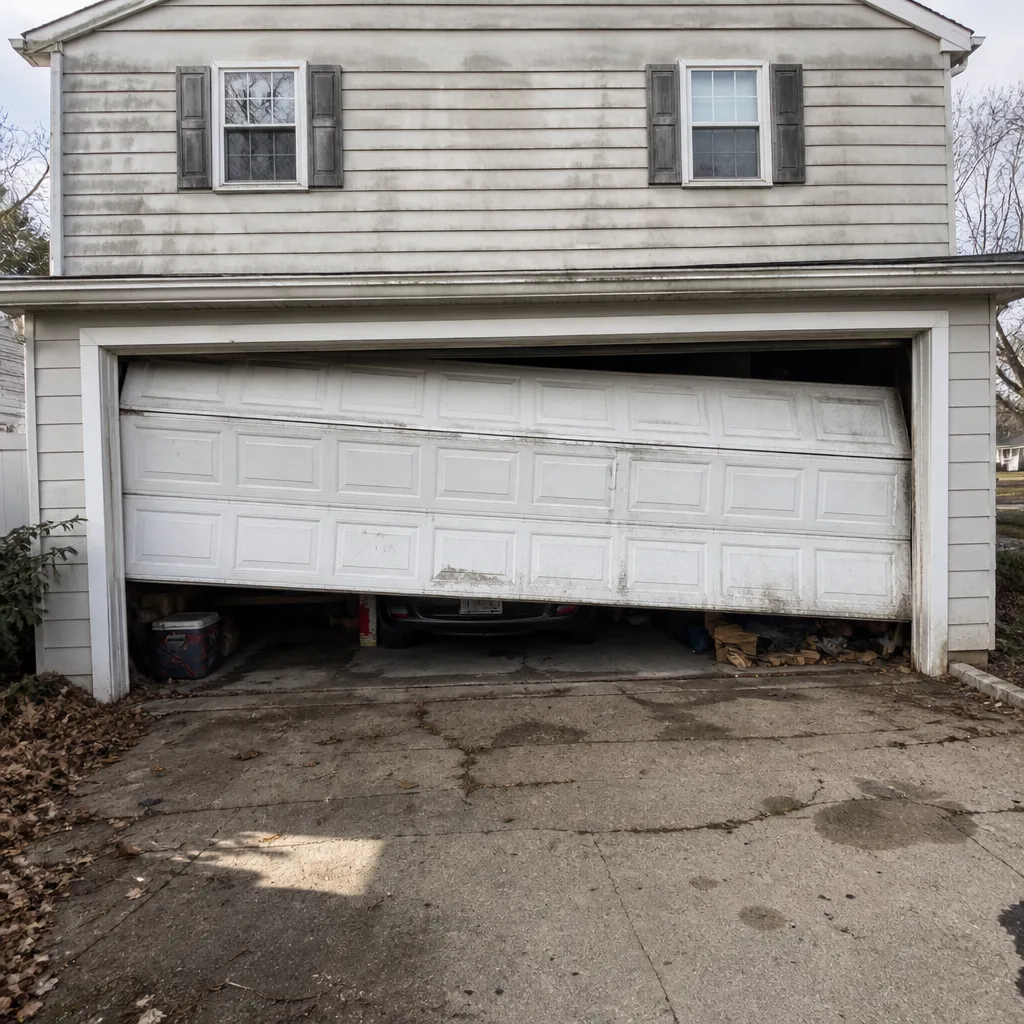 Before
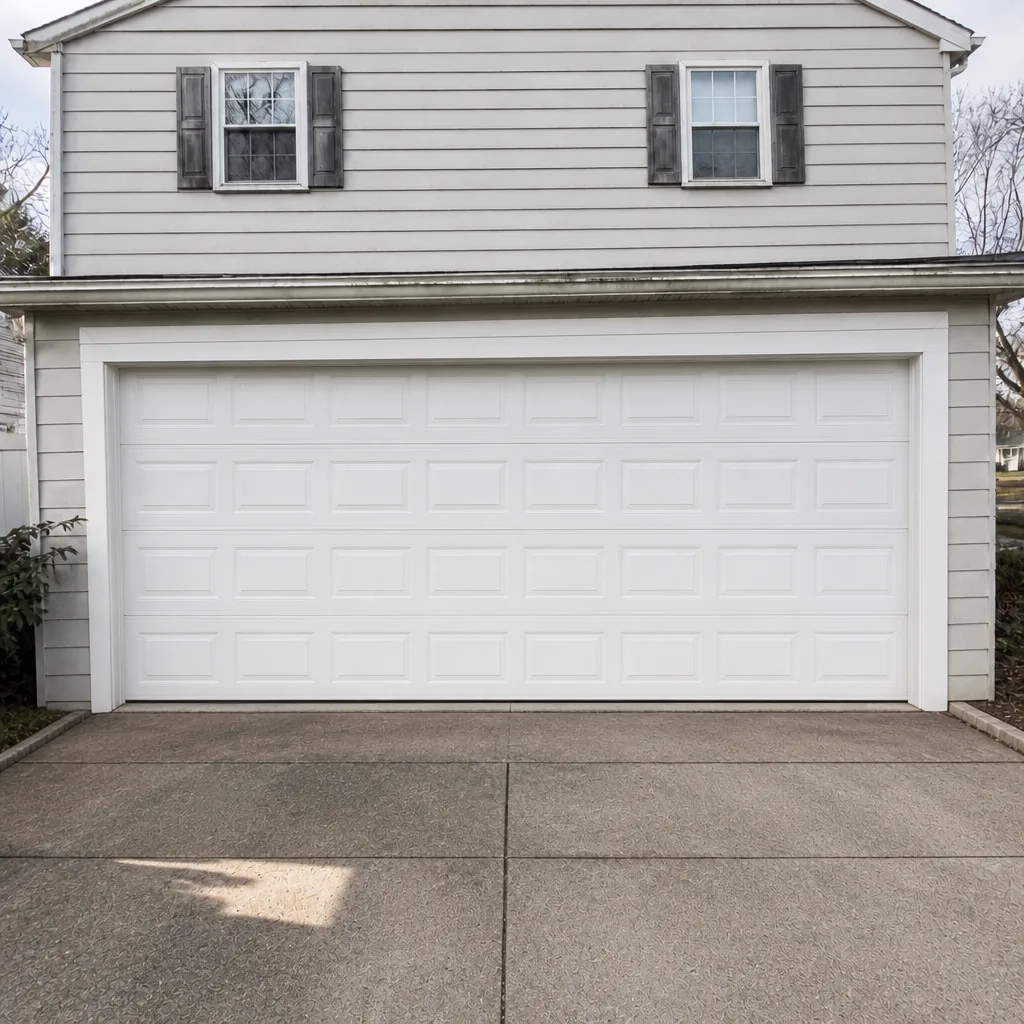 After
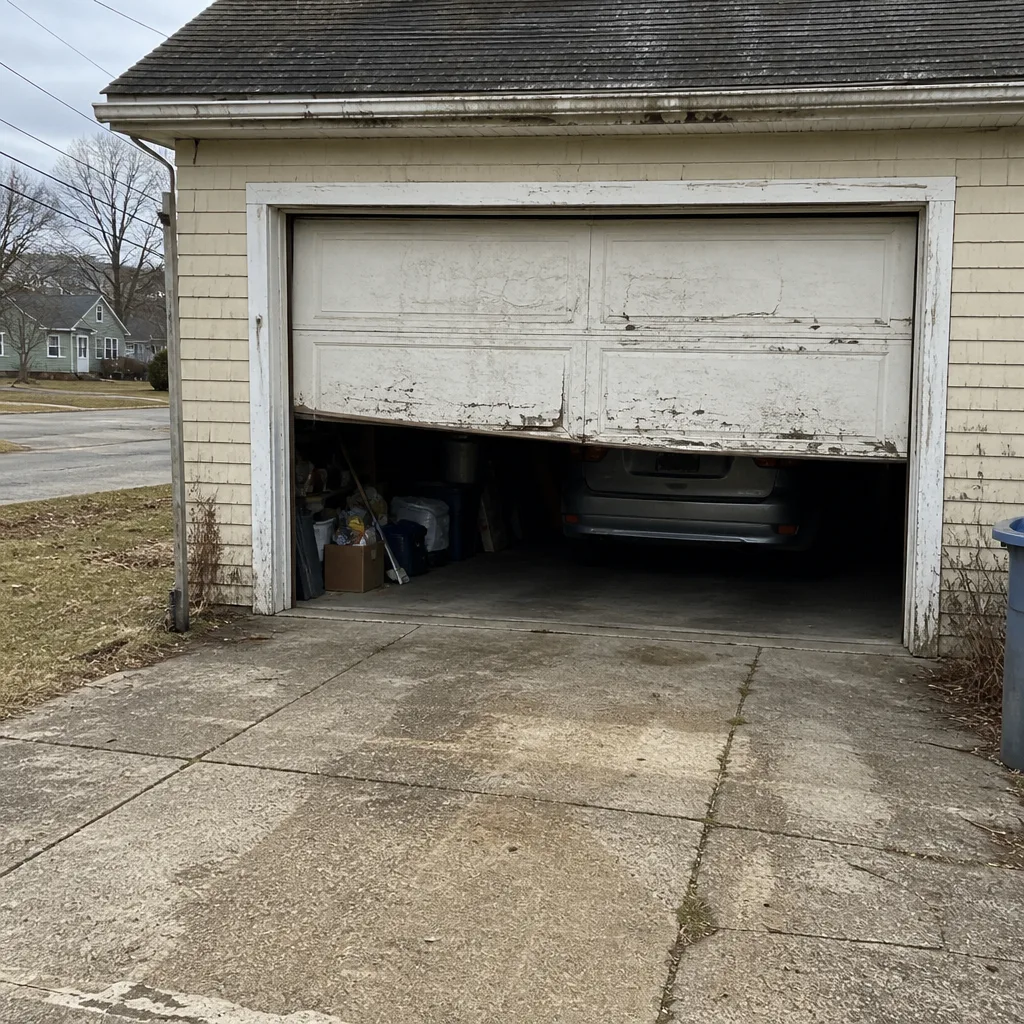 Before
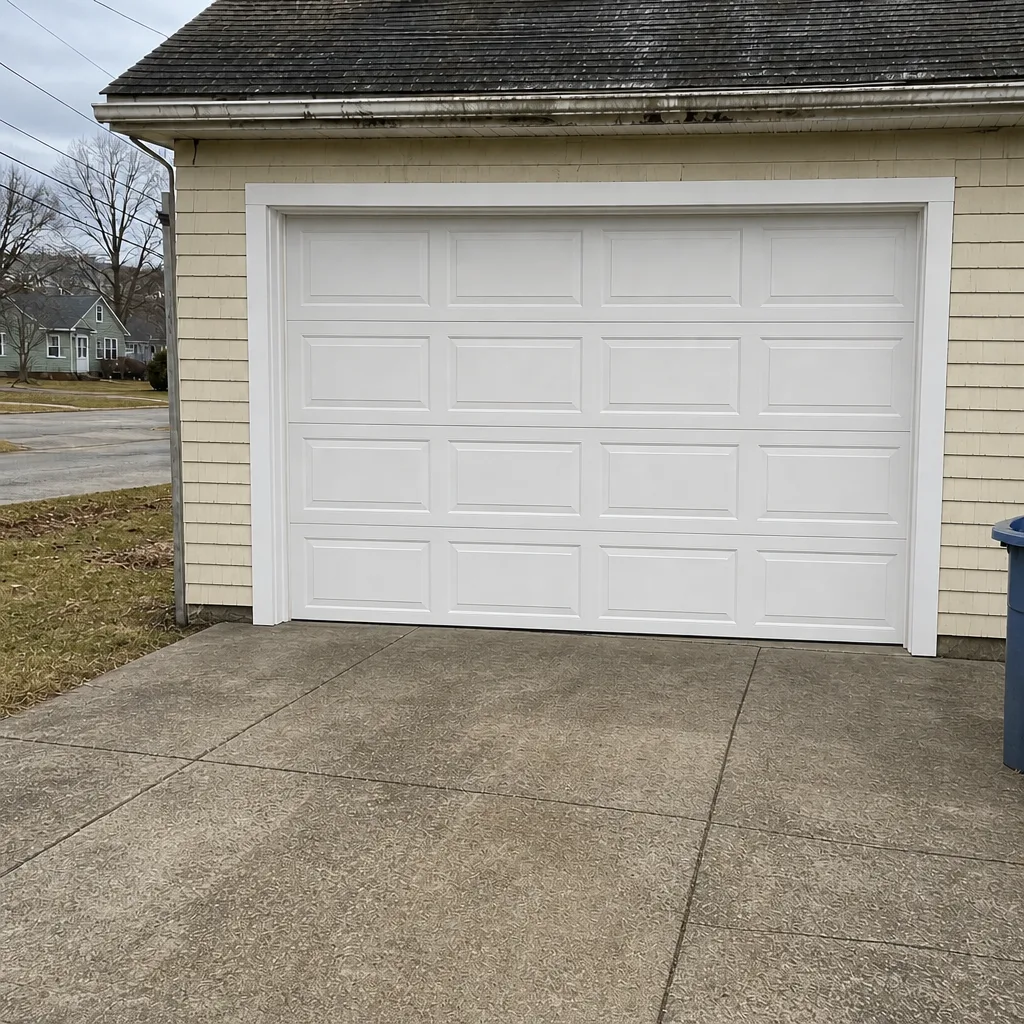 After
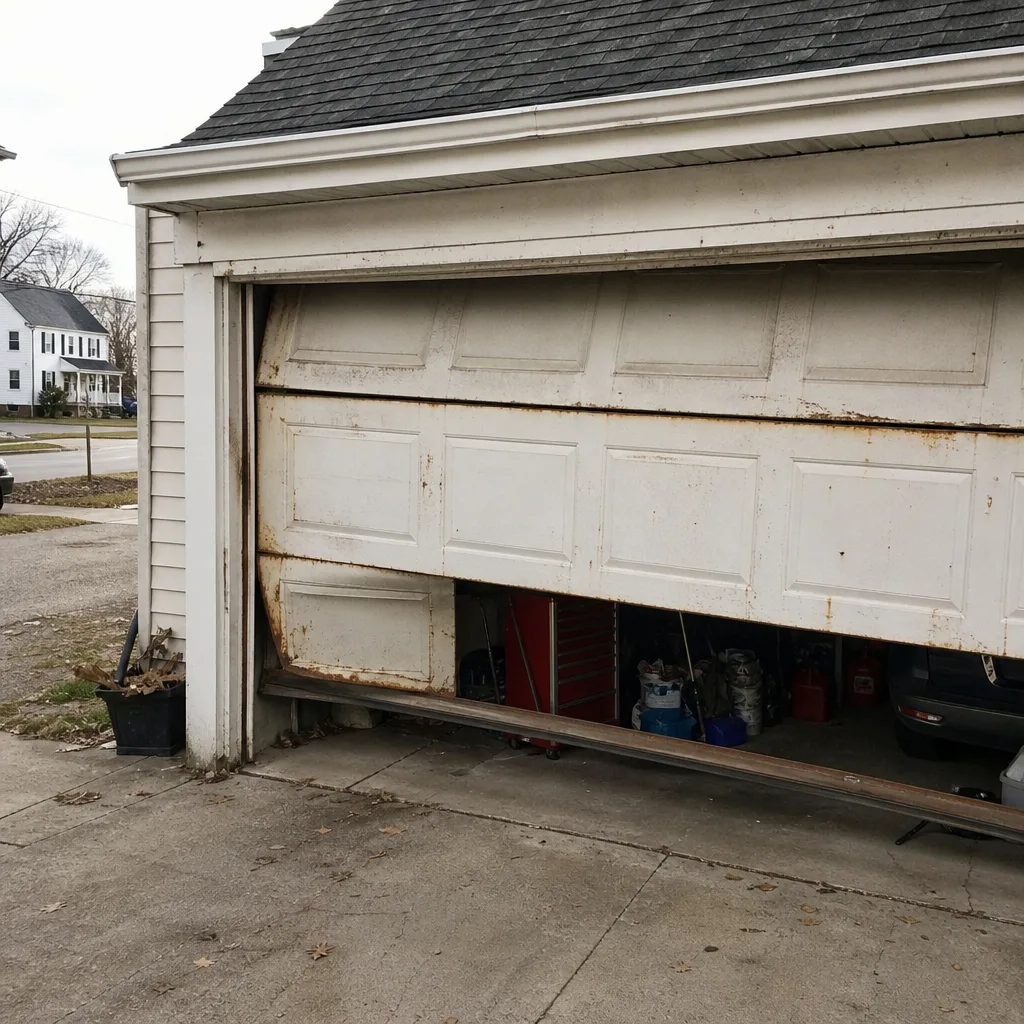 Before
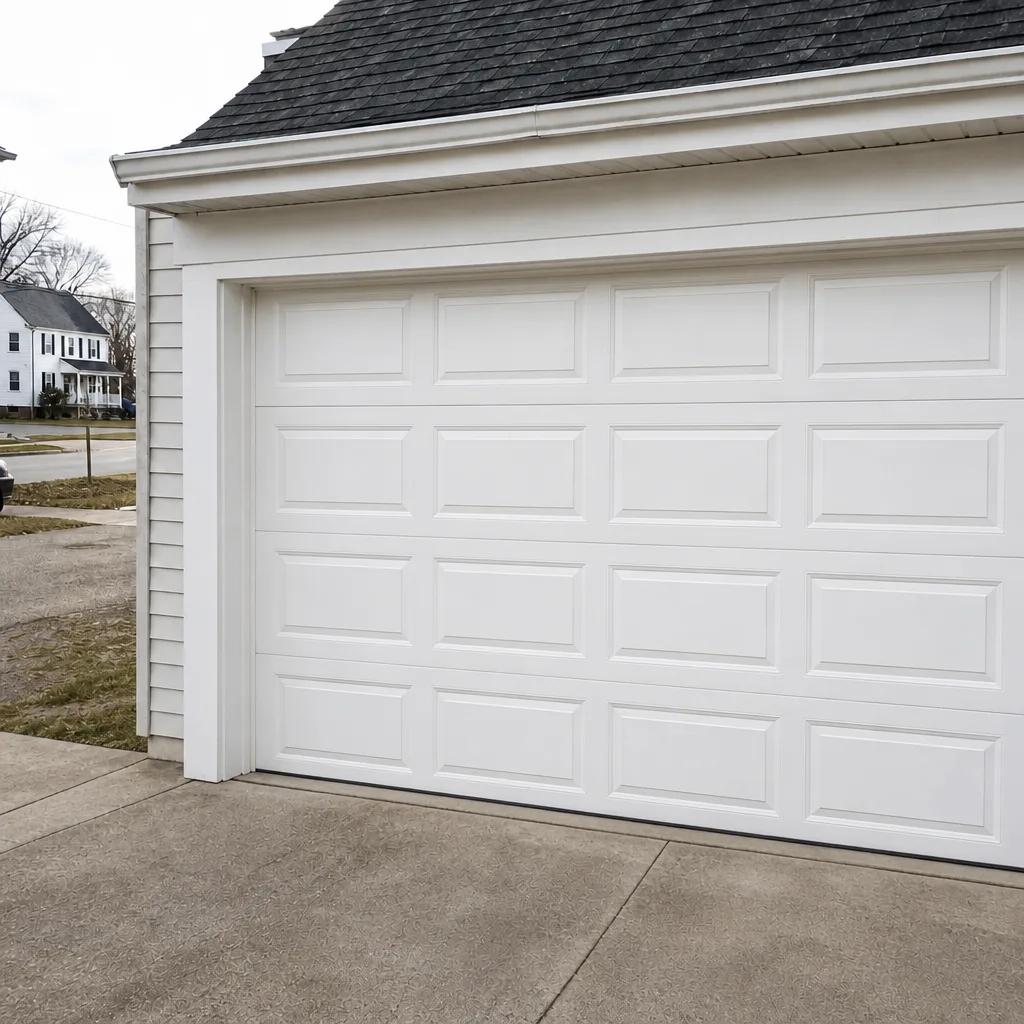 After